
How to Import a Digital Planner into Goodnotes (iPad, Mac, Android)
 Published
On this page
- Before You Start: Find the Planner File
- How to Import a Digital Planner into Goodnotes on iPad
- How to Import a Planner into Goodnotes on Mac
- How to Import a Planner into Goodnotes on Android
- After You Import: Five Checks Before You Write
- Choosing a Planner That Imports Cleanly
- Wrapping Up
- Frequently Asked Questions
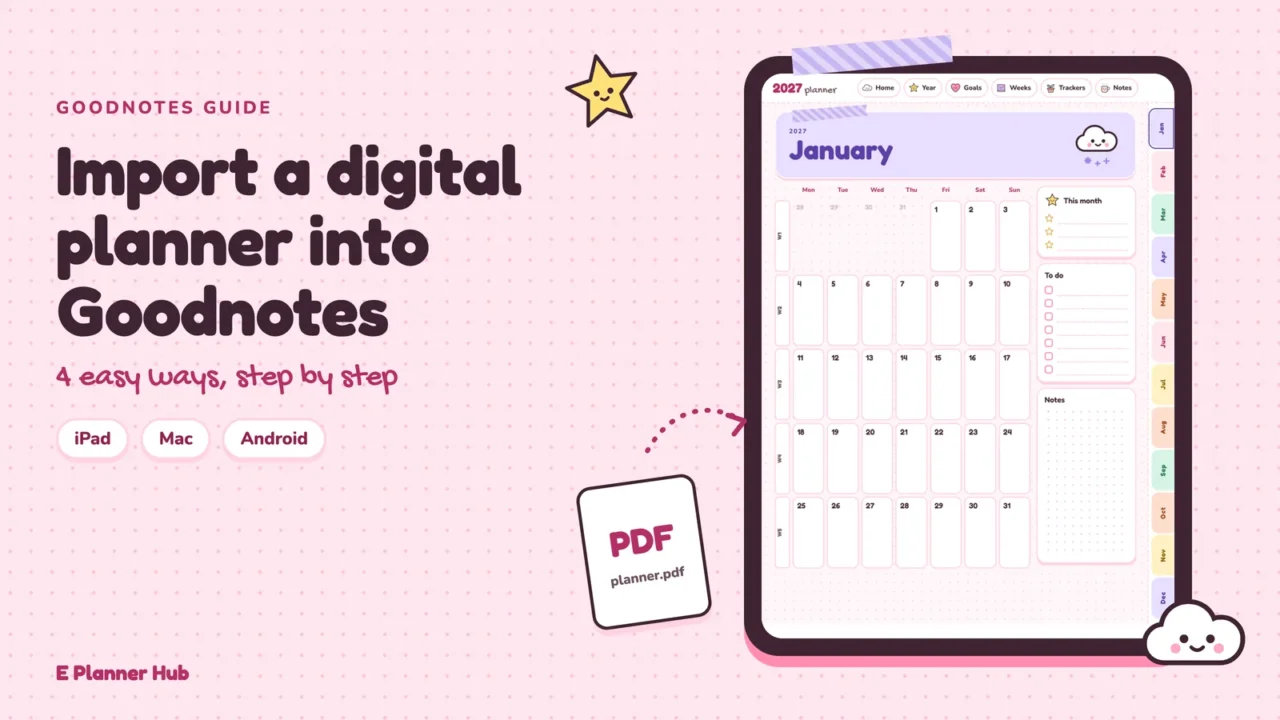
To import a digital planner into Goodnotes, save the planner PDF to your device, open Goodnotes, go to the Documents tab, select New and then Import, and pick the file. The planner opens as a new notebook with its tabs intact. The same route works on iPad, Mac, Android, Windows and the web.
Searching for how to import digital planner into Goodnotes files usually means the download finished and now there is a PDF somewhere on your device and an empty Goodnotes library. The step is not hard, but there are several ways in and each device keeps downloads in a different place.
Below are the routes Goodnotes documents, followed by the checks to run once the planner is open.
Before You Start: Find the Planner File #
Contents ↑Most planner shops deliver a PDF, sometimes inside a ZIP file. You need the PDF itself on your device, or in a cloud folder your device can reach, before Goodnotes can see it.
On an iPad or iPhone
Files you download in Safari land in the Files app. Apple’s support page on where to find downloads on iPhone or iPad gives the path: open the Files app, tap Browse, tap iCloud Drive, then tap the Downloads folder. You can also tap the Downloads button next to the search field in Safari to see recent downloads.
If the planner arrived as a ZIP file, open it first. Apple’s article on opening ZIP files on iPhone and iPad says to find the ZIP in the Files app and tap it; a folder is created containing the files. Tap the folder to see the PDFs inside.
On a Mac
Downloads usually go to the Downloads folder in Finder. Double-click a ZIP file to expand it, and keep the PDF somewhere you will find again.
On an Android tablet
Downloaded files typically go to the Download folder in your device’s file manager. The file manager app’s name varies by brand, so if you cannot find it, open your browser’s download list and tap the file from there.
📐 Technical Note
File size decides whether the import works at all. Goodnotes’ import article states that on Android, Windows and the web, subscribers can import PDFs up to 1 GB each and Goodnotes files up to 200 MB, while free users are limited to 5 MB per file. Check your planner’s size in the file manager or Files app before you start, so a size limit does not look like a broken file.
How to Import a Digital Planner into Goodnotes on iPad #
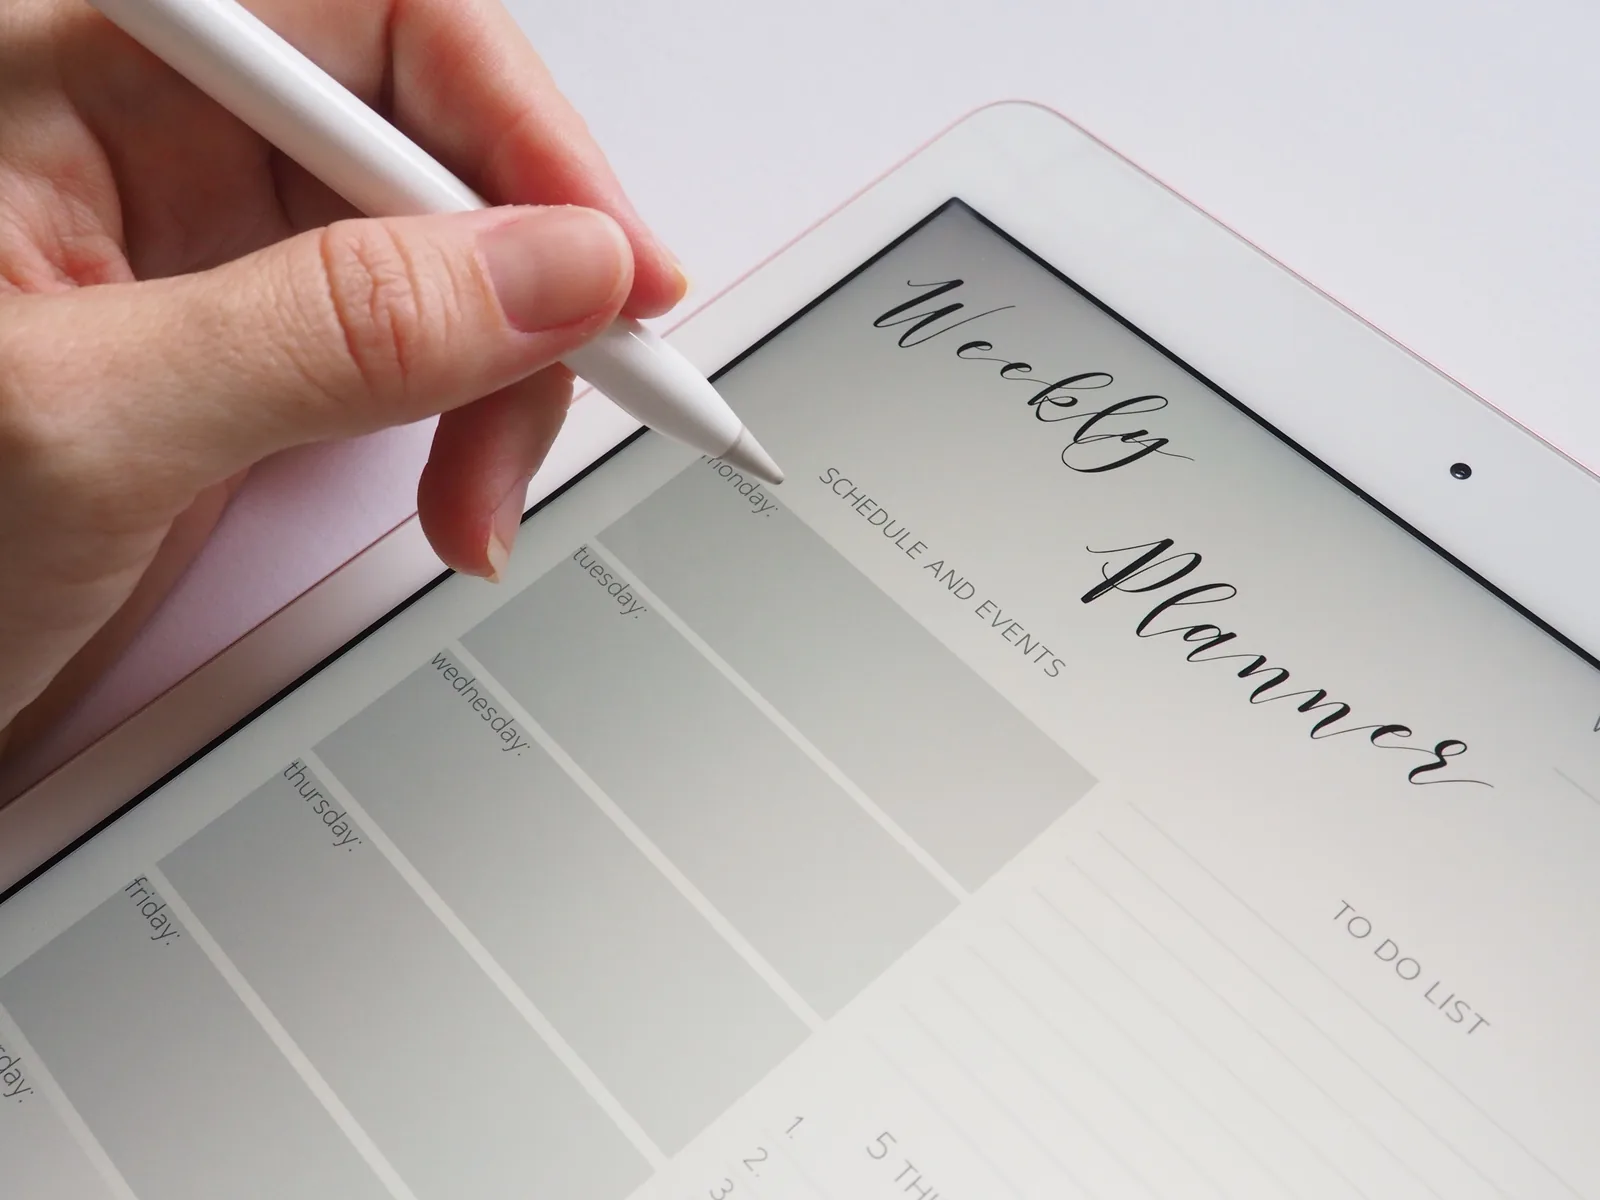
Contents ↑The iPad has the most options. Goodnotes’ help article on importing files into Goodnotes documents three of them, and a fourth uses email.
Method 1: Import from inside Goodnotes
- Open Goodnotes and go to the Documents tab in Library View.
- Tap the New icon, then tap Import.
- Browse to the folder that holds the planner, such as iCloud Drive and then Downloads.
- Select the PDF and tap Open.
The planner appears in your library as a new document with every page. This is the method to use if you are unsure, because it works the same way on every platform.
Method 2: Send the file from the Files app
- Open Goodnotes once and leave it on the library view.
- Switch to the Files app and tap the planner PDF to open it.
- Tap Share and choose Open in Goodnotes.
- Select the New Document tab, choose where to save it, and confirm with the “Import to” button.
Method 3: Drag and drop in Split View
Open Goodnotes and the Files app side by side in Split View. Open the Goodnotes folder you want the planner in, then long-press the PDF in Files for half a second and drag it across to the Goodnotes window. This is the quickest way to bring in several planner files at once, for example separate Monday-start and Sunday-start versions.
💡 Pro Tip
Create a folder called “Planners” in Goodnotes and open it before you import. Goodnotes’ own drag-and-drop steps start by opening the destination folder, and keeping the planner, its bonus files and any sticker PDFs together saves you scrolling through the whole library later.
Method 4: Email the PDF to your Goodnotes library
If the planner is on your computer, you can email it to Goodnotes. The help article on Email to Goodnotes explains the setup: open the Goodnotes menu, select Settings, then Email to Goodnotes, accept the terms and enable it. You get a unique address; send an email to it with the PDF attached and keep Goodnotes open.
The limits are strict. Email to Goodnotes requires a subscription, imports only attached PDFs up to 25 MB, and does not follow download links in the email. Check your planner’s file size first, since anything over 25 MB will not come through; treat this as a backup method.
How to Import a Planner into Goodnotes on Mac #
Contents ↑Goodnotes for Mac needs macOS 15.7 or later, according to Goodnotes’ article on using Goodnotes on macOS. The import itself follows the same New, then Import route from the Documents tab.
Opening links on a Mac works slightly differently from the iPad. In read-only mode you select the hyperlink. In edit mode you press and hold the link and choose “Open Link”. The pen or keyboard icon at the top of the document switches modes.
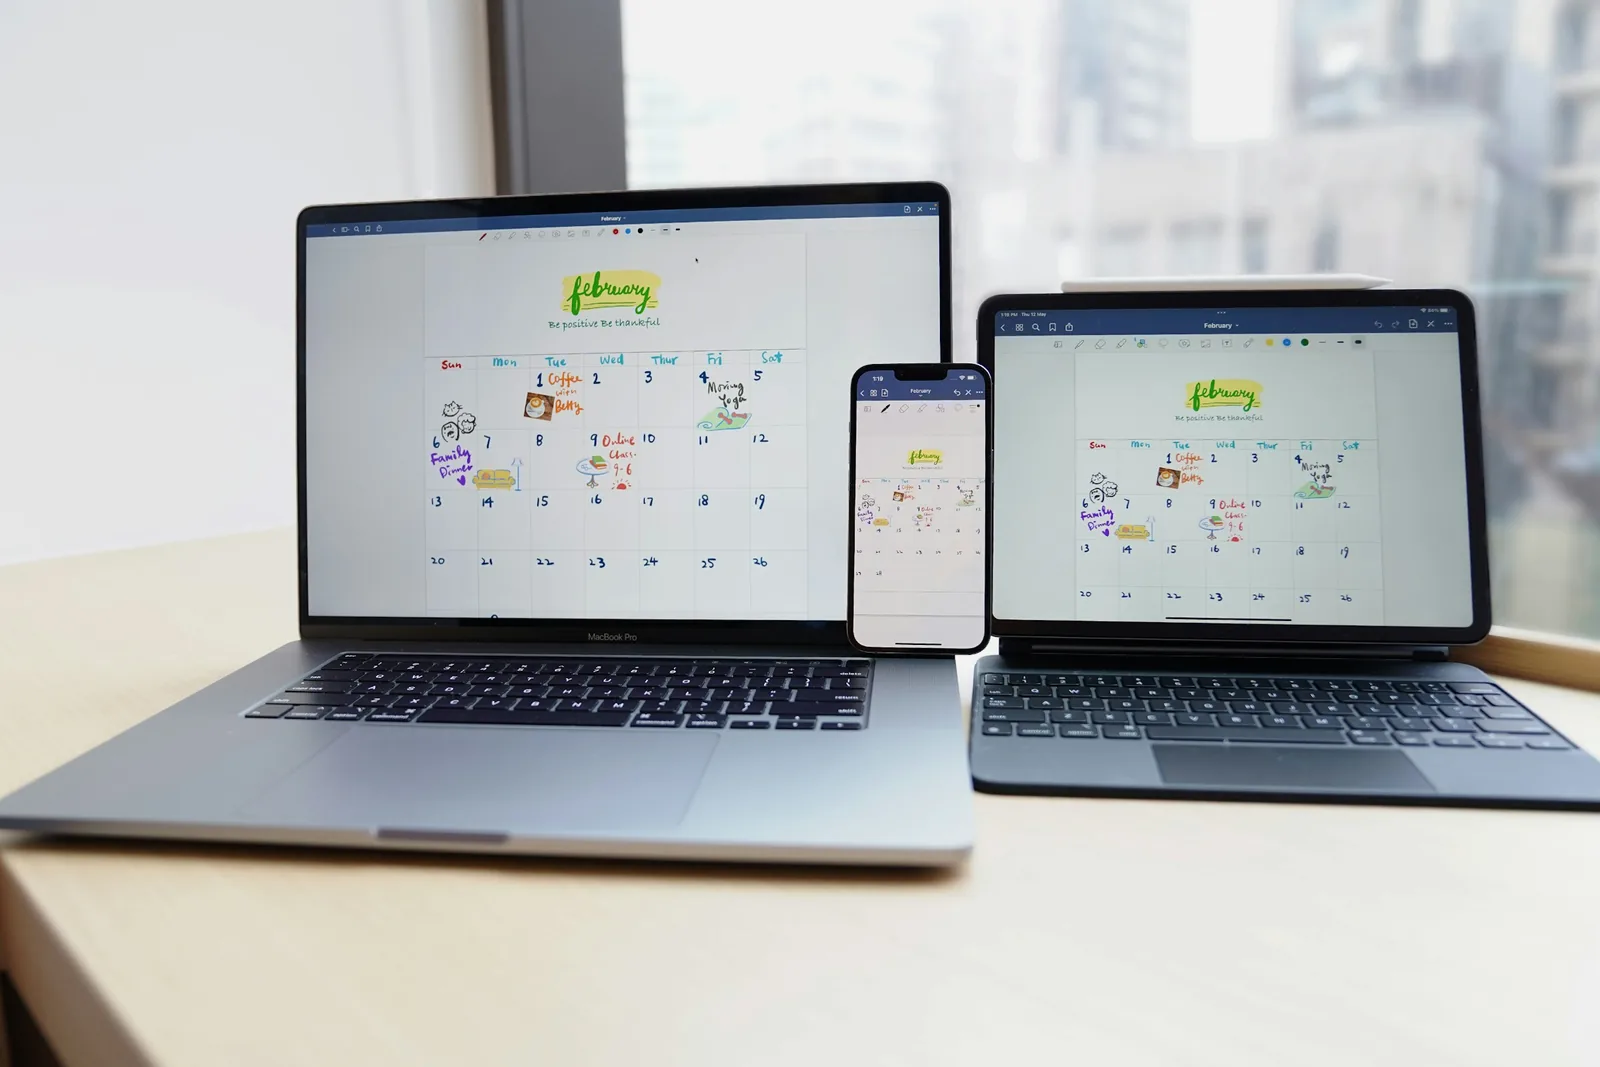
If you use iCloud Sync, a planner imported on your Mac also appears on your iPad and iPhone signed in to the same Apple Account, so you only need to import it once across Apple devices.
How to Import a Planner into Goodnotes on Android #
Contents ↑Goodnotes for Android is available from Google Play and the Galaxy Store. Goodnotes’ article on getting started on Android, Windows and the web gives the import steps:
- Open Goodnotes and sign in.
- In Documents, select New, then Import.
- Select the planner PDF from the file picker.
The same steps apply on Windows and in the web app. Remember the 5 MB limit on the free plan; if a planner will not import on a free account, file size is the first thing to check.
Planner tabs work on Android too. Goodnotes’ FAQ for those platforms confirms that hyperlinks in planners are available on Android, Windows and the web. To tap them, enter Read Only Mode first, or press and hold a link in Edit Mode and select “Open Link”.
One limitation to plan around: your planner syncs between your iPad and your Android tablet only with Goodnotes Cloud, which Goodnotes includes with the Pro plan. On other plans, import the planner separately on each device.
⚠️ Common Mistake to Avoid
Importing the planner through Manage Notebook Templates instead of New and Import. Goodnotes’ template article says that when a multi-page PDF is imported as a template, only its first page is added. A full planner always goes in as a document; the template importer is for single pages such as a notes page.
After You Import: Five Checks Before You Write #
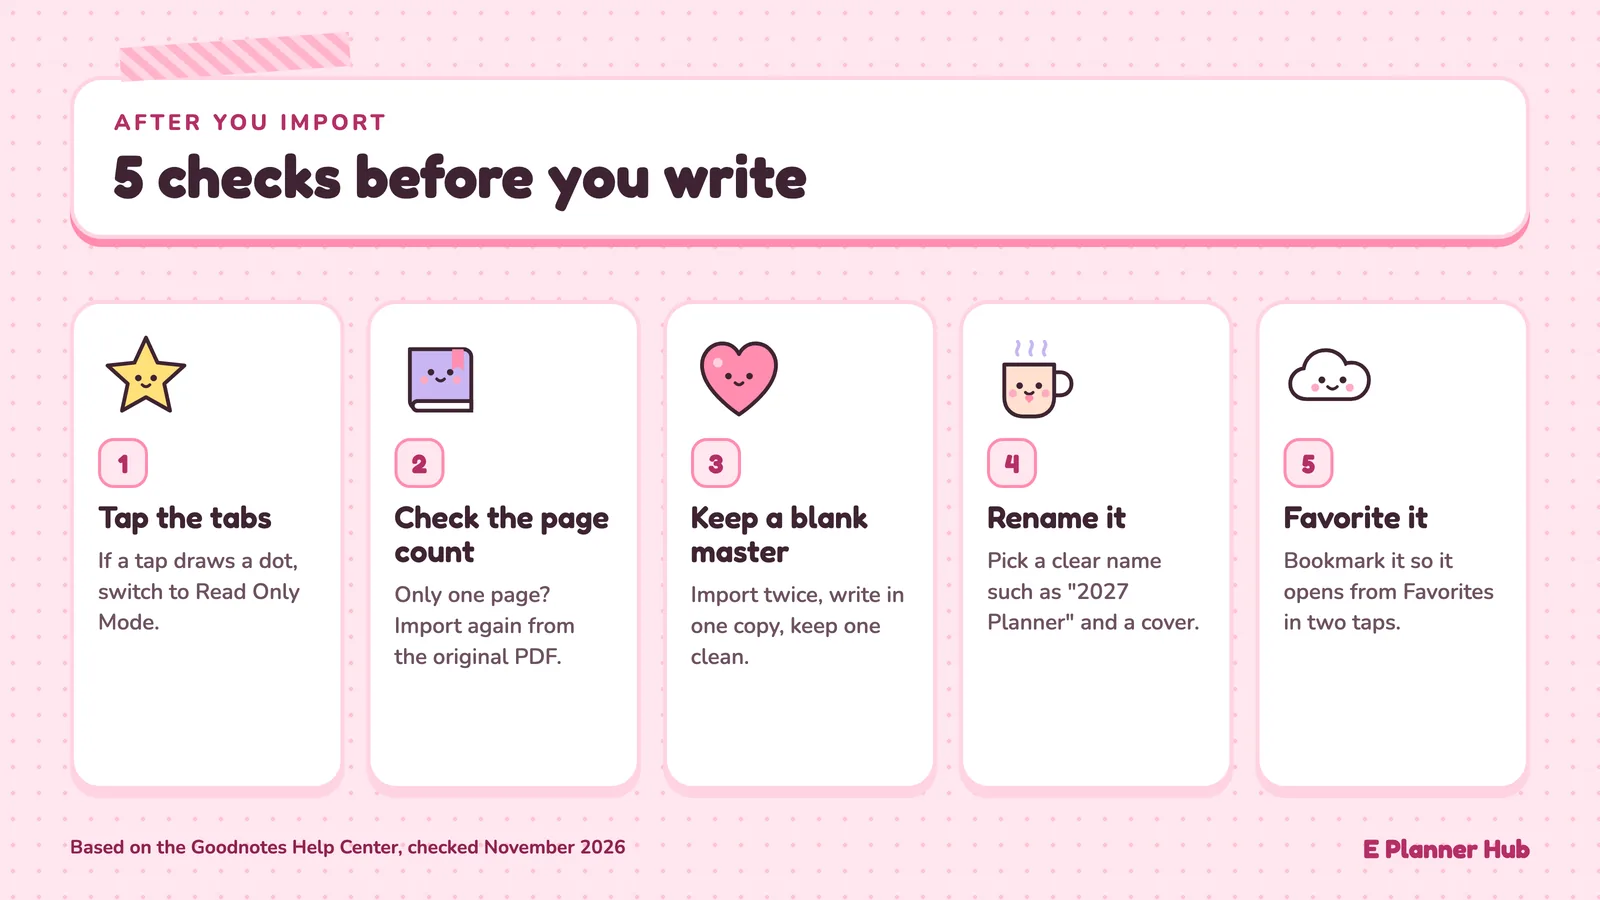
Contents ↑Spend five minutes testing the planner before you fill in a single page. It is much easier to fix problems on a clean file.
1. Tap the tabs
Tap a month tab, a week link and the home or index link. If a tap draws a dot instead of jumping, switch to Read Only Mode. Goodnotes’ Read Only Mode article says links open with one tap there, without any risk of writing on the page.
2. Check the page count
Open the Sidebar and scroll the page thumbnails. If you see only one page, the file went in as a template or the download was incomplete. Import it again from the original PDF.
3. Keep a blank master copy
Import the same PDF a second time and rename one copy “master”. Write only in the other one. If you ever need fresh pages or want to restart, you have a clean copy without hunting for the download again.
4. Rename and choose a cover
Give the planner a clear name such as “2027 Planner” so it is easy to find among other notebooks.
5. Favorite it
Bookmark the planner so it shows under Favorites. You will open it many times a day, and two taps beat scrolling through a long library.
Once these checks pass, the planner is ready for daily use, and you can start filling in your first week of pages.
Choosing a Planner That Imports Cleanly #
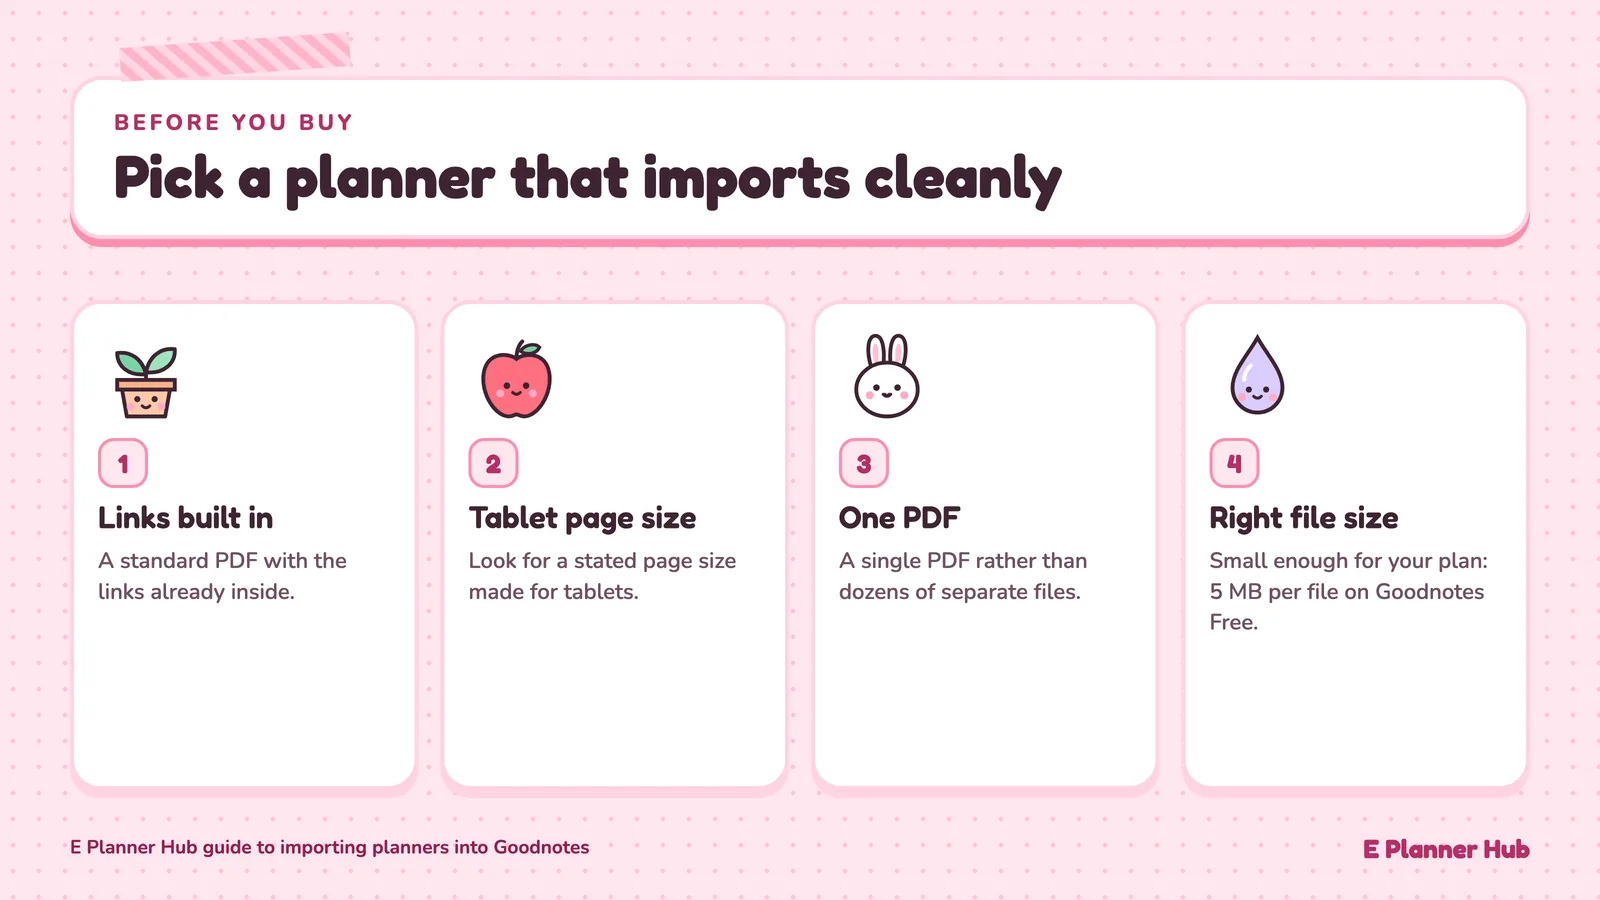
Contents ↑A planner made for Goodnotes and similar apps is a standard PDF with links built in. If you have not picked one yet, look for a stated page size for tablets, a single PDF rather than dozens of separate files, and a file size that fits your Goodnotes plan. Our digital planners are delivered as hyperlinked PDFs that go in through the same New and Import steps described above.
Features vary by app version and device. Check the developer’s support page for your setup, since import limits and sync depend on your Goodnotes plan.
Wrapping Up #
Contents ↑Importing is a one-time step, but it sets up everything after it. Get the planner in as a document, confirm the tabs work and keep a clean master copy, and the rest of the year is just writing.
Your Next Step: Open Goodnotes now, create a “Planners” folder, and import your planner with New and Import. Then tap three tabs to confirm the links work before you write anything.
Frequently Asked Questions #
Contents ↑Why won’t my digital planner import into Goodnotes?
The first thing to check is file size. Goodnotes Free limits imports to 5 MB per file, so a larger planner will not import on the free plan. Also check that you are importing the PDF itself, not a ZIP file you have not opened yet or a link to the download page.
Can I import a planner into Goodnotes for free?
Yes, if the file is 5 MB or smaller and you have not reached the 3-notebook limit. Goodnotes Free allows up to 3 notebooks and 5 MB imports. Larger planners need a paid plan such as Essential.
Do planner hyperlinks still work after importing into Goodnotes?
Yes, as long as the links exist in the original PDF. On iPad you select the linked element; on Android, Windows and the web you enter Read Only Mode first or press and hold the link and choose Open Link.
Do I need to import the planner again on each device?
Between Apple devices, iCloud Sync can carry the planner for you. Between an Apple device and an Android or Windows device, the library only syncs with Goodnotes Cloud on the Pro plan; otherwise import it separately on each device.